Grand Prime Custom Firmware
Author: Maksym Maliarov, IAIB2, 2018
Introduction.
This article shows how to install a custom firmware on a Samsung Galaxy Grand Prime (G530FZ) phone with 64bit CPU and 1GB of RAM.
Preparation
First of all you need to decide which ROM you want to install. Usually, you’d go to XDA Developers forum and choose from all available ones. In the current article, I'll show how to install LineageOS 15.1 based on the latest and greatest Android 8.1. Now that we made the choice, we need to find a compatible recovery before installing the Android itself. For the chosen version of LineageOS, according to its author, TWRP 3.2.1 is the best match.
Plan
The plan is to:
     0. Backup data
     1. Unlock bootloader (if locked)
     2. Flash custom recovery
     3. Install a custom android image
     4. Install GApps in order for Google Play store and other Google services to work
0. Data Backup
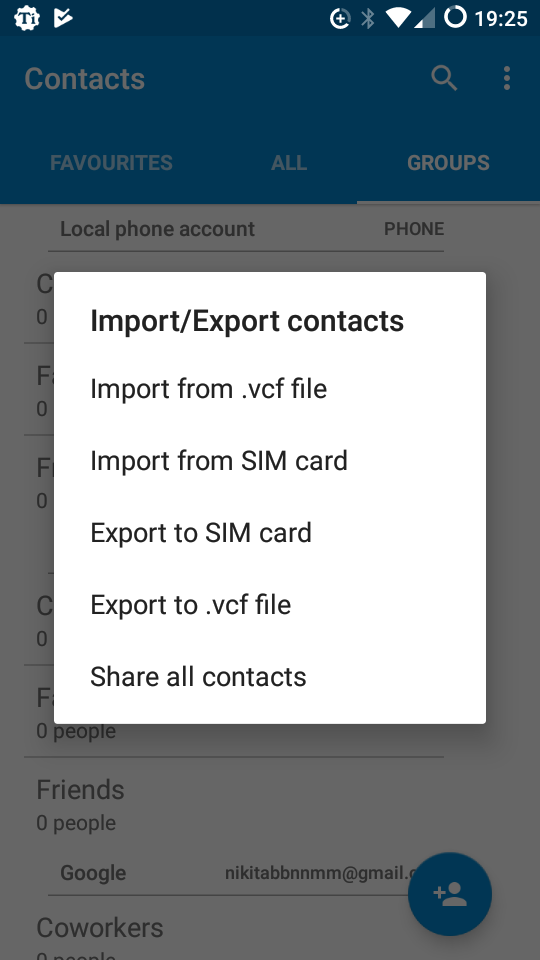
For data backup there is a variety of tools that could be used which accomplish different goals. If something simple as Contacts backup is needed, then default Contacts application’s Export feature will do. If, however, something fancy like backuping applications with their data and cache is needed, this also could be done with Titanium Backup application. One of its drawbacks is that it requires the root access to run. To backup data (images, settings etc) a simple files transfer to a PC should be sufficient.
Importing contacts:
1. Bootloader Unlock
To unlock the bootloader on G530FZ:
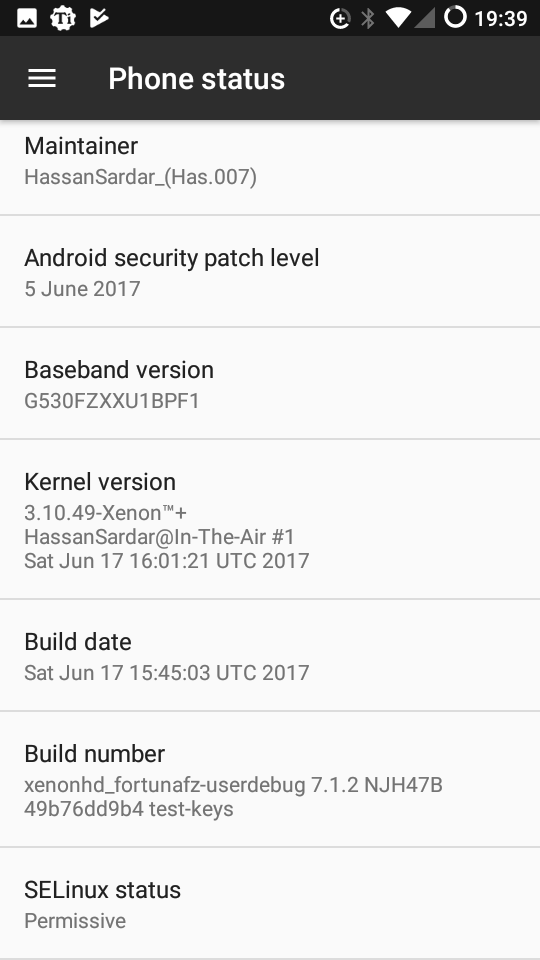
Enable Developer Options by clicking a couple of times on Build info in the Phone Status setting.
Go to Developer Options in the Settings and search for Enable OEM unlocking.
2. Custom Recovery Flash
One of the easiest ways to install TWRP Recovery on this device is to use Samsung Odin tool.
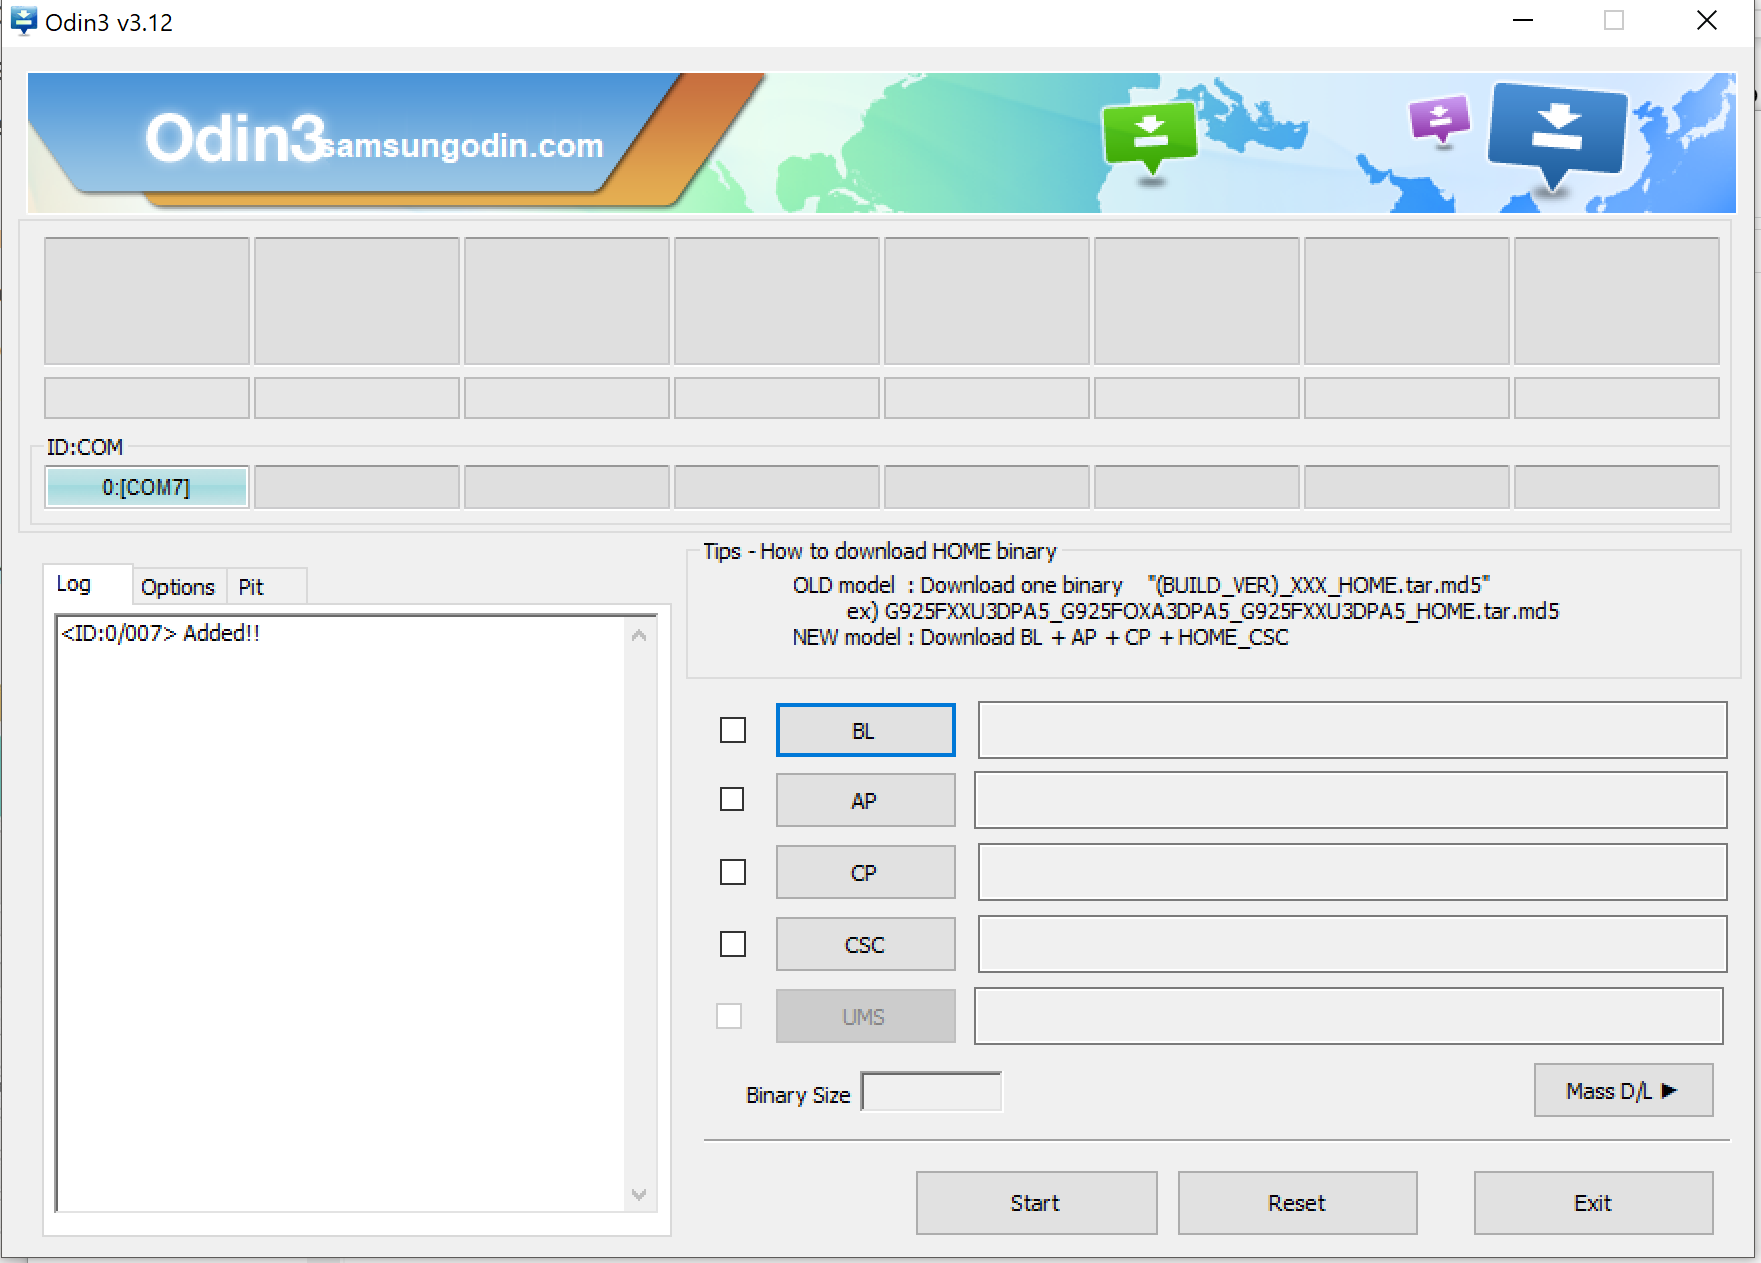
Download, unzip and launch the latest Odin tool Power off the device Hold Volume Up + Home + Power button for a couple of seconds, then press Volume Up to enter Download mode Connect the phone to the PC via USB cable Download and install USB drivers. If you see ‘Added’ in Odin tool, everything is OK and you are ready to flash. If not, try to reconnect/reopen.
Download recovery .tar file. Click AP and choose the recovery .tar file Click Options and make sure all checkboxes match the following screenshot:
[[File:[Match.PNG]]]
Click Start button to flash the recovery, you should see the following:
Unplug the phone and power it off Hold Volume Up + Home + Power button again for a couple of seconds to enter recovery
3. Android installation
you need to wipe data and cache. Click Wipe -> Advanced Wipe -> Choose Dalvik/ART cache + Data + Cache -> Swipe to Wipe.
It’s optional, but advised to wipe Internal Storage as well. Now connect the phone to a PC and transfer a .zip file of ROM from to device root directory. Go back to Recovery main menu and choose Install, then select the transferred .zip file ->
Swipe to confirm Flash
Now the installation has started.


